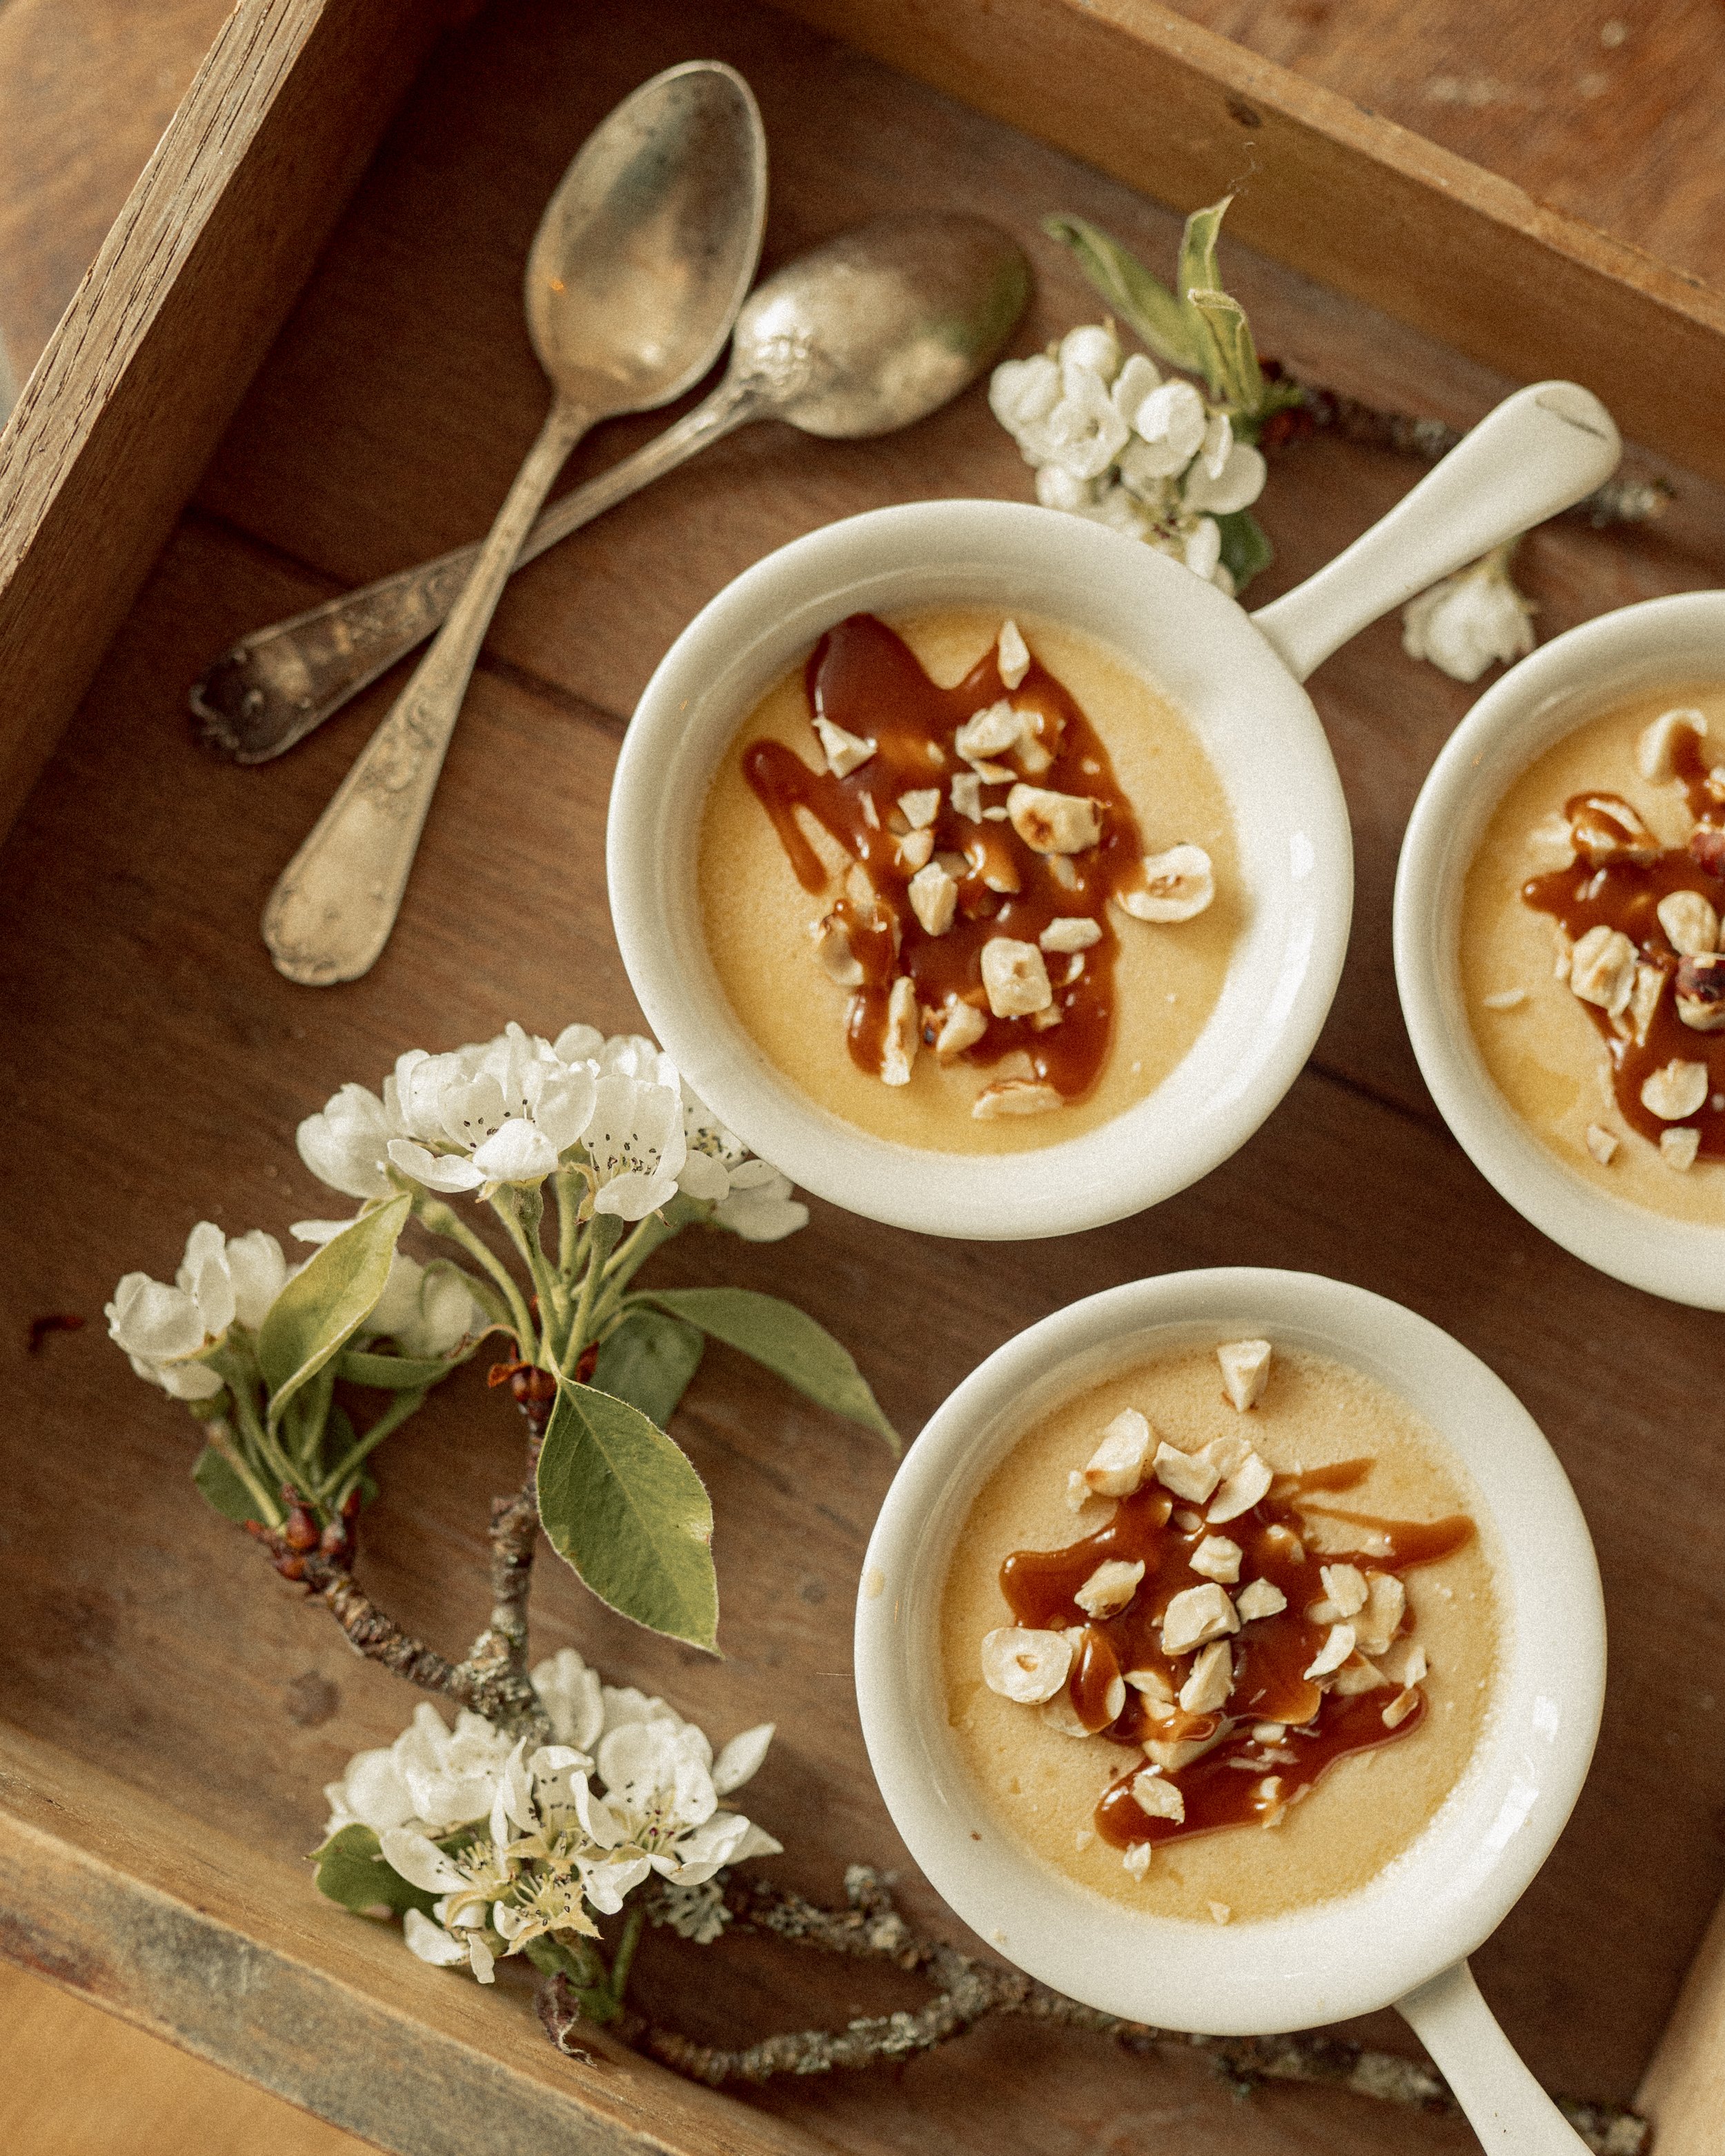
French Vanilla Crème brûlée
Today we are going to prepare one of my favorite and most delicate desserts - crème brûlée according to the traditional French recipe, but with some minor improvements that will make the cream even more fragrant, soaked in vanilla and tender. The taste of boiled milk, as in childhood, immediately transports somewhere to the village, to the hot summer, where the sun warmly welcomes us in the morning and the cries of roosters are heard at dawn. At the same time, the refined ramekins and a multitude of ways to decorate give free rein to the imagination and make this recipe refined and worthy of festive dinners. In general, this recipe, as for me, is out of season and out of time, since its base is good quality cream, and the decoration can be adapted to any season. The custard ramekins can be decorated with flowers in the spring, fresh berries from the garden or market in the summer, pumpkin filling in the fall, or warming Christmas spices in the winter.
In today's version, I offer you to focus on the classic traditional recipe without fancy additives, which emphasizes the taste of baked milk, fresh eggs and a delicate vanilla flavor and nothing more. As a filling I will use a not quite traditional and more rustic version - homemade salted butter caramel and hazelnut chips. To obtain a traditional crispy caramel crust, simply sprinkle the cooled cream with cane sugar and caramelize the surface using a kitchen torch. However a kitchen torch may not be at hand for everyone and sometimes it is not entirely safe as a utensil.
Ingredients:
* 450g liquid full cream
(little secret the fatter the better, 33-35% would be great)
* 90g of sugar
* 1 vanilla pod
* 4 egg yolks
* 1 pinch of salt
* salted caramel for topping
Preparation:
1. Preheat the oven to 160°. In a saucepan, pour all the cream, 1/3 of the sugar and a pinch of salt. Heat and bring to almost a boil, stirring to prevent the cream from sticking to the pan.
2. When the first bubbles appear, take the pan off the heat and add the vanilla beans obtained by scraping the split vanilla pod with the tip of a knife. Then put the whole pod in it, cover the pan and leave to infuse for 15 to 20 minutes.
3. In the meantime, in a bowl, mix the 4 egg yolks with the rest of the sugar using a whisk. I recommend using a whisk instead of a mixer because first of all you should not beat the eggs too hard, but simply mix them well until the whole mass whitens and rises slightly. And in the end, we already have a lot of devices of all kinds, we can sometimes get tired of electronic noise, after all the noise that taps the bottom of the salad bowl can be so much soothing.
4. Put the saucepan with the cream back on low heat and bring to a gentle simmer again. As soon as the first bubbles appear, pour the cream over the egg-sugar mixture, whisking vigorously. I advise you to pour 1/3 of the cream first, to introduce it well into the mixture, then to pour the rest so that the preparation is well unified.
5. Filter the preparation using a sieve, remove the vanilla pod and if necessary remove the foam on the surface, this will allow the cream to be smoother and have a more aesthetic appearance after cooking.
6. Lay a large dish or baking sheet with parchment paper and put ramekins on it. Gently pour the mixture, filling the ramekins 3/4 full. Pour boiling water into the dish/baking sheet, filling it up to a third of the height of the ramekins with cream to let them cook in a water-bath. Do this very carefully so that the water does not splashes into the cream.
7. Bake at 160° for 20-25 minutes, the cooking time depends on the size and depth of your ramekins. The shorter the cooking time, the creamier the dessert, and the longer you leave it in the oven, the thicker and denser it will become, much like a pudding. In any case, in order for the cream to come out soft and tender, it should sear on the top and on the edges, and in the middle it should remain a little floating, even liquid, like jelly. After the oven, let the cream cool completely at room temperature and send it to the refrigerator for 3-4 hours, or preferably overnight, where it must be properly chilled.
8. Once cooled, sprinkle the surface of the cream with brown sugar and quickly caramelize it with a kitchen torch to get that crispy crust. There is another option - you can send the ramekins with sugar to the oven at 180° in high heat, but there is always a risk of melting the cream at the same time. Here is my rustic version - I roast the hazelnuts in a heated pan for about 5-7 minutes, peel them and crush them finely. Then I pour over the chilled dessert slightly melted and cooled caramel and sprinkle with hazelnuts. The hazelnut chips keep this crunchy aspect, while the caramel adds an inimitable sugar side!
Bon appetit to your taste buds,
Ana
MORE POSTS YOU MAY LIKE:
P.S. All the images from this post are edited with my
“Country Breakfast” collection of presets.
Click here to grab them and to learn more about
timless & vintage photography


